
Straightener 635-094 Guide
User manual for Straightener 635-094
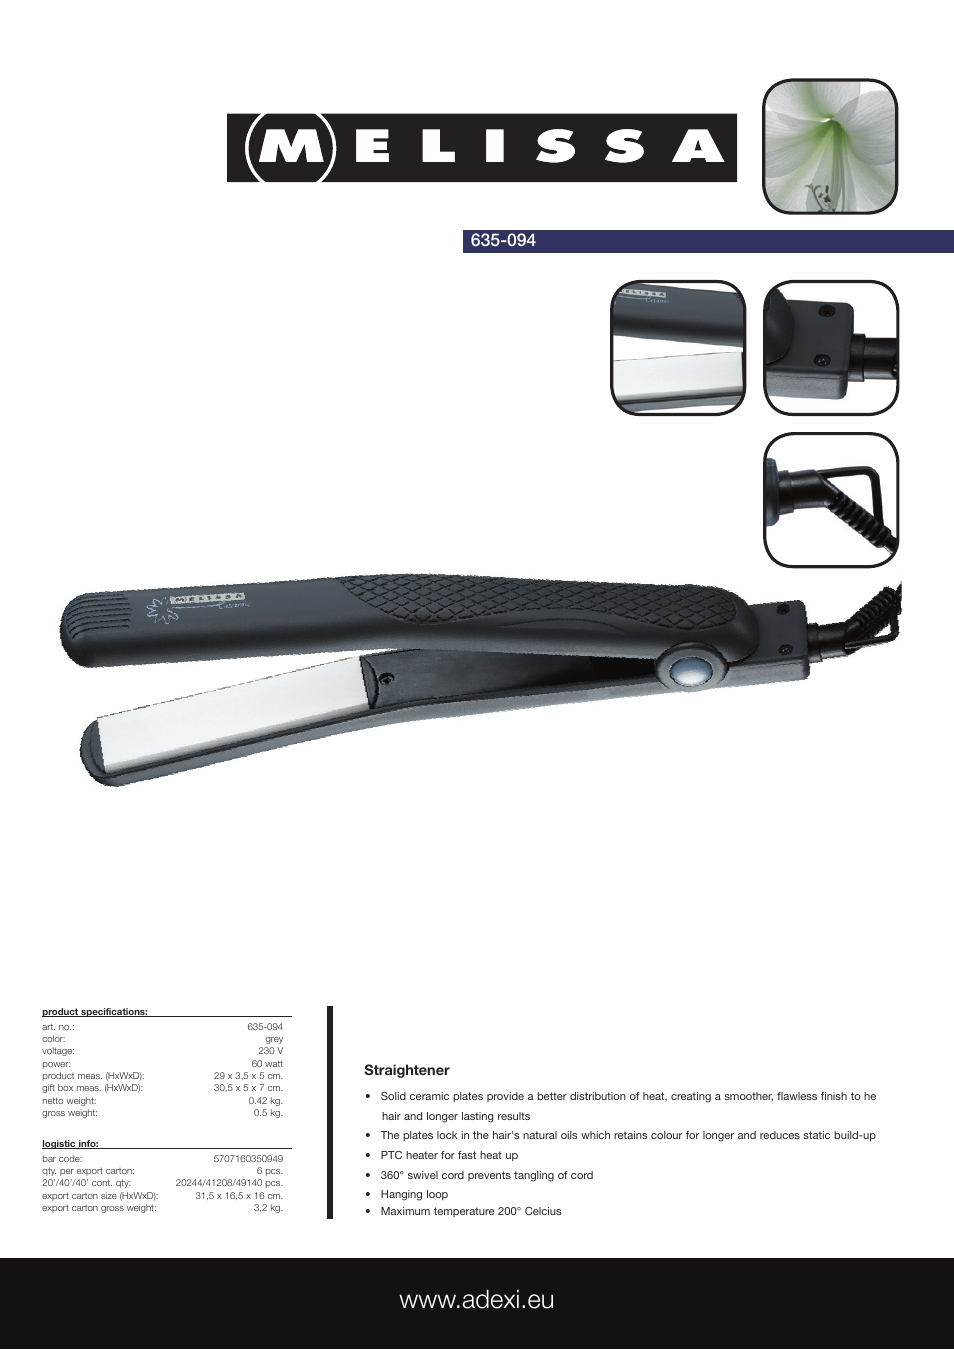
Table of contents
Document Outline
- TABLE OF CONTENTS
- PROTECTION AGREEMENTS
- PRODUCT RECORD
- SAFETY MESSAGES
- Acaution
- CFG DISPOSAL
- GROUNDING REQUIREMENTS
- PARTS AND FEATURES
- REMOVING AND REPLACING DOORS
- REVERSING DOORS
- REVERSE FREEZER DOOR
- LEVELING AND DOOR CLOSING
- ENSURING PROPER AIR CIRCULATION
- NEXT
- SETTING THE CONTROLS
- REFRIGERATOR CONTROL
- FOOD STORAGE GUIDE
- Packaging
- Freezing
- Slide Out Shelves (On Some Models)
- SNACK DRAWER (On Some Models)
- CRISPER HUMIDITY CONTROL
- SNAP-ON DOOR RACKS
- ICE TRAY (On Some Models)
- GENERAL CLEANING TIPS
- OUTSIDE
- INSIDE WALLS (allow freezer to warm up so cloth won't stick)
- DOOR LINERS AND GASKETS
- PLASTIC PARTS (covers and panels)
- BACK COVER
- LIGHT BULB REPLACEMENT
- POWER INTERRUPTIONS
- WHEN YOU GO ON VACATION
- WHEN YOU MOVE
- ABOUT THE AUTOMATIC ICE MAKER
- INSTALLATION INSTRUCTIONS
- 1. SHUT OFF THE MAIN WATER SUPPLY
- INSTALLATION INSTRUCTIONS (CONTINUED)
- 2. CHOOSE THE VALVE LOCATION
- DRILL THE HOLE FOR THE VALVE
- . FASTEN THE SHUT OFF VALVE
- 5. TIGHTEN THE PIPE CLAMP
- 6. ROUTE THE TUBING
- 7. CONNECT THE TUBING TO THE VALVE
- 8. FLUSH OUT THE TUBING
- 9. CONNECT THE TUBING TO THE REFRIGERATOR
- 10. TURN THE WATER ON AT THE SHUTOFF VALVE
- 11. PLUG IN THE REFRIGERATOR
- 12. START THE ICEMAKER
- UNDERSTANDING SOUNDS YOU MAY HEAR
- REFRIGERATOR DOES NOT OPERATE
- VIBRATION OR RATTLING NOISE
- LIGHTS DO NOT WORK
- FROST OR ICE CRYSTALS ON FROZEN FOOD
- THE DOORS ARE DIFFICULT TO OPEN
- AUTOMATIC ICEMAKER DOES NOT WORK (Icemaker On Some Models)
- TEMPERATURE IS TOO WARM ORTHERE IS INTERIOR MOISTURE BUILDUP
- Your Home
- Our Home
- 1-888-SU-HOGAR®
Related manuals for Straightener 635-094


New Manuals
- ZyXEL Communications ZyXEL G-162 Video Gaming Accessories User Manual
- ZyXEL Communications EW103U/A Video Gaming Accessories User Manual
- Western Telematic RSM-8 Video Gaming Accessories User Manual
- Western Telematic RSM-32DC Video Gaming Accessories User Manual
- Western Telematic RSM-32 Video Gaming Accessories User Manual
- Western Telematic RSM-16DC Video Gaming Accessories User Manual
- Western Telematic RSM-16 Video Gaming Accessories User Manual
- Viking Electronics FBI-1A Video Gaming Accessories User Manual
- Viking Electronics DVA-500A Video Gaming Accessories User Manual
- Viking Electronics DVA-3003 Video Gaming Accessories User Manual
- Viking Electronics DVA-2W Video Gaming Accessories User Manual
- Viking Electronics DVA- 1003B Video Gaming Accessories User Manual